Now I am working on a new betta tank in which a handsome orange crown tail male betta is going to reside. My first step in setting up this tank was to decide how large I wanted it to be. The important thing to remember about bettas is that, contrary to popular belief, they DO NOT thrive in small, cramped, unheated, unfiltered tanks. Like most living things, they thrive when handled with TLC and attention.
So I am getting the new betta boy, Spike the orange crowntail, and I needed a tank for him. I knew I had limited space so I was looking for a 1.5-3 gallon solution that was something different from the usual tanks that come in the smaller size. I found a really neat 2 gallon round glass tank, but had the problem of keeping the top covered.
The solution I came up with was using small metal corner braces siliconed to the tank sides, then cutting out a top from craft mesh to lay on top of the braces.
I outline the steps below in the pics and also go over the supplies and set up of my new tank. I have my red HMPK Sekihan in there right now since he jumped the divider in his tank to go after my girl Kaosu, so he is in timeout right now and testing out the new digs.
DIY Tank Hood
Supplies needed: Clear plastic craft mesh, approx 8.5"x11"
Ruler, scissors, marker, clear silicone(no mildew proofing), small metal or plastic corner braces, metal or plastic handle if desired.
Step 1: measure and cut plastic mesh to size, better to cut too big and trim later than cut too small. I measure the diameter of the circular top of my tank then drew the radius (half the diameter) and then used a string attached to a permanant marker to make a circle. I cut the circle out and set it aside


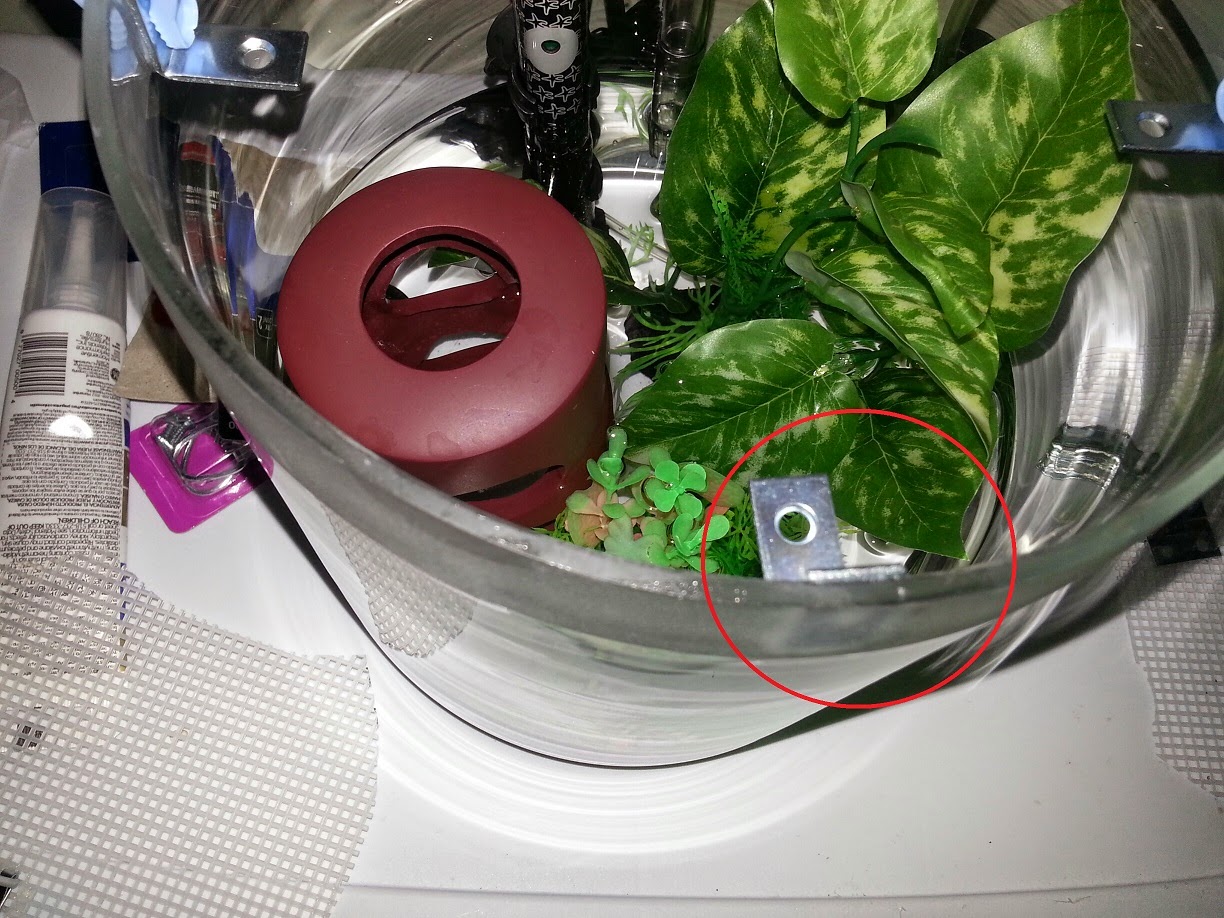
Step 2: I then attached the metal corner braces to the tank at the same level (this was easy on the tank I was using since it had a frosted glass ring around the top and I placed the braces along this line). Place a bead of clear silicone on the back of one edge of the brace and keep secured to the tank with a close pin. I used three braces, but 4 would probably be more secure. The silicone takes about an hour to dry and 24 hours before it is waterproof. At this point you can add the handle if you choose to your tank lid with a small bead of silicone and let sit for 24 hours to dry. My handle kept falling off because it wouldn't stick to the mesh, I may add it back with hot glue later.


Final Step: Place your cut out craft mesh in the tank and trim as needed to fit the tank, and trim appropriate sized sections to fit around your filter, heater, and air line. I will be adding a small tank light when it comes in which should fit by sitting on top of the tank along the glass edge.


The final set up ended up looking like this:


The tank set up has the 15w adjustable glass heater, air line without air stone attached with a suction cup air tubing holder, a small HOB filter, 1 weighted silk plant, one soft plastic glow in the dark weighted plant, and a ceramic tower cave. I decided to go without any gravel and rocks to make cleaning easier. I will just take out the decor and do a through vacuum of the bottom. I am not using live plants in this tank right now, but may add some java fern when the light comes in.
Till Next Time:
Peace, Love and Süßwasser--April